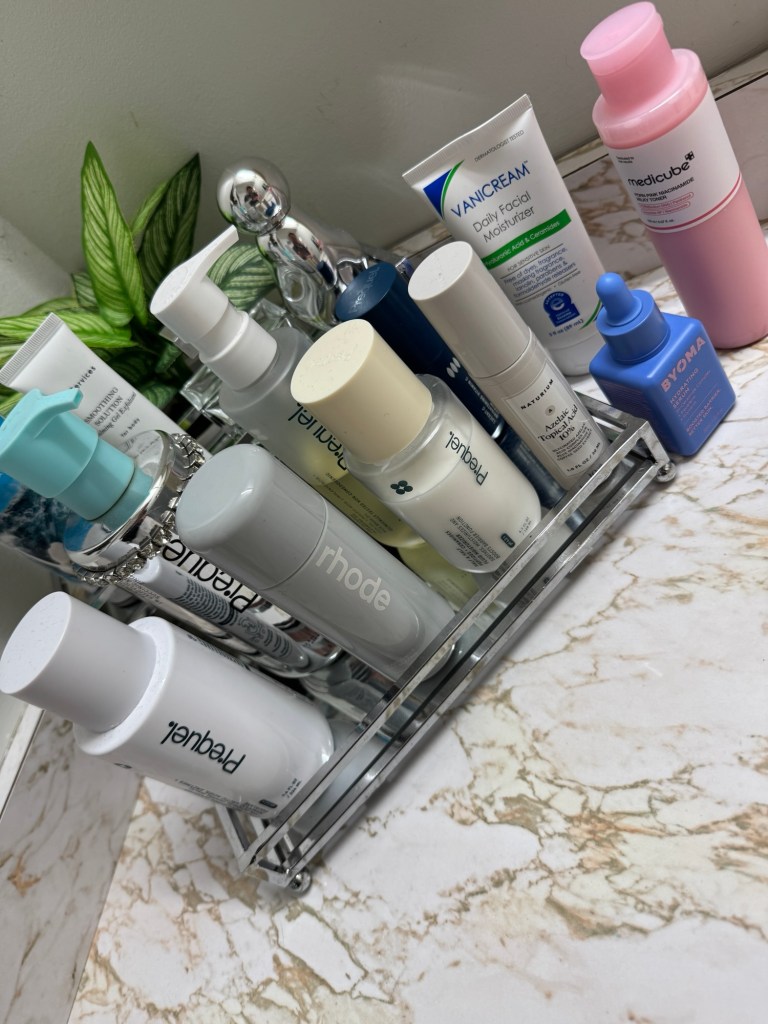
I’ve always struggled with skincare because there’s so much info on the internet and one contradicts the other. So one day I asked Chat GPT to help me out with all the products I’ve been influenced to buy and help me make sure I am taking care of my skin rather than constantly over exfoliating and irritating it. Here’s that formula.
🌅 Morning Routine: Protect + Prep for the Day
1. Cleanse (Optional)
Product: Prequel Gentle Cleanser– only cleanse in the morning if my skin feels oily or I’ve used heavier products overnight. Most days, I just rinse with cool water to keep my barrier happy.
2. Hydration & Glow Boost
Product: Rhode Glazing Milk My skin really drinks this up. Like the hype is real. I recently also got the Glazing Spray, and that one is a little irritating to my skin compared to BYOMA Balancing Face Mist.
3. Antioxidant Shield
Product: Prequel Vitamin C– A brightening antioxidant serum to keep hyperpigmentation in check and give that “lit from within” vibe.
It feels really good on my face as well- no irritation but it does seem to be too strong for some people.
4. Moisturize
Product: Vanicream Daily Facial Moisturizer – I meaaaaannnnn just look at the reviews! Lightweight, non-comedogenic, and keeps my skin hydrated without clogging pores.
5. Sunscreen (Non-Negotiable)
Product: La Roche-Posay Cicaplast B5 SPF This is my ride-or-die SPF—soothing, hydrating, and great for make up base.
🌙 Evening Routine: Repair + Renew
1. Double Cleanse
Step 1: Prequel Cleanser to remove makeup/SPF. Step 2: Gentle cleanse again to make sure my skin is fresh for actives.
2. Exfoliation (2–3x/week)
Product: Prequel AHA/BHA Exfoliant or The Ordinary Glycolic Toner: This keeps my pores clear and texture smooth. I skip on nights I use adapalene.
3. Retinoid
Product: Differin (Adapalene) My long-term skin investment. Works slowly but delivers clearer, more refined skin over time. Also people say it’s a dupe for Tretinoin.
4. Recovery
Product: Medicube Toner Pads + BYOMA Serum (on retinoid nights) These keep my barrier strong while the retinoid does its thing.
5. Seal It In
Product: Vanicream Moisturizer or Rhode Glazing Milk for lighter hydration.
🎯 Targeted Treatments (As Needed)
Eye Care: Shiseido Benefiance Eye Cream (probably least cost savvy item I use) at night, Cocokind Eye Gel in the morning- the applicator feels so good on your undereye- it’s like a cooling effect🧊